
Anyways, with the floor finally dry, H and I made quick work (1 afternoon spent with ever fun Ikea instructions – we found their video’s uber useful – no offense little Ikea cartoon guys!) of getting the kitchen base cabinets installed.

With that taken care of we could finally move onto the plank flooring. There was some concerns in the crew as to how DIY-able this task really was, and I'm happy to says that we were able to knock out the wood flooring in less than 2 days over a weekend (day 1 was 3 people- H, me ,and Papa Waffles, while day 2 was just H and I). Our biggest learning with the "planks" was to work row by row. In the first room (the living room) we worked from one side to the other putting in all of the full planks, leaving the edges of the room for last, with the theory that doing all the cuts at the end in one go would be faster.....


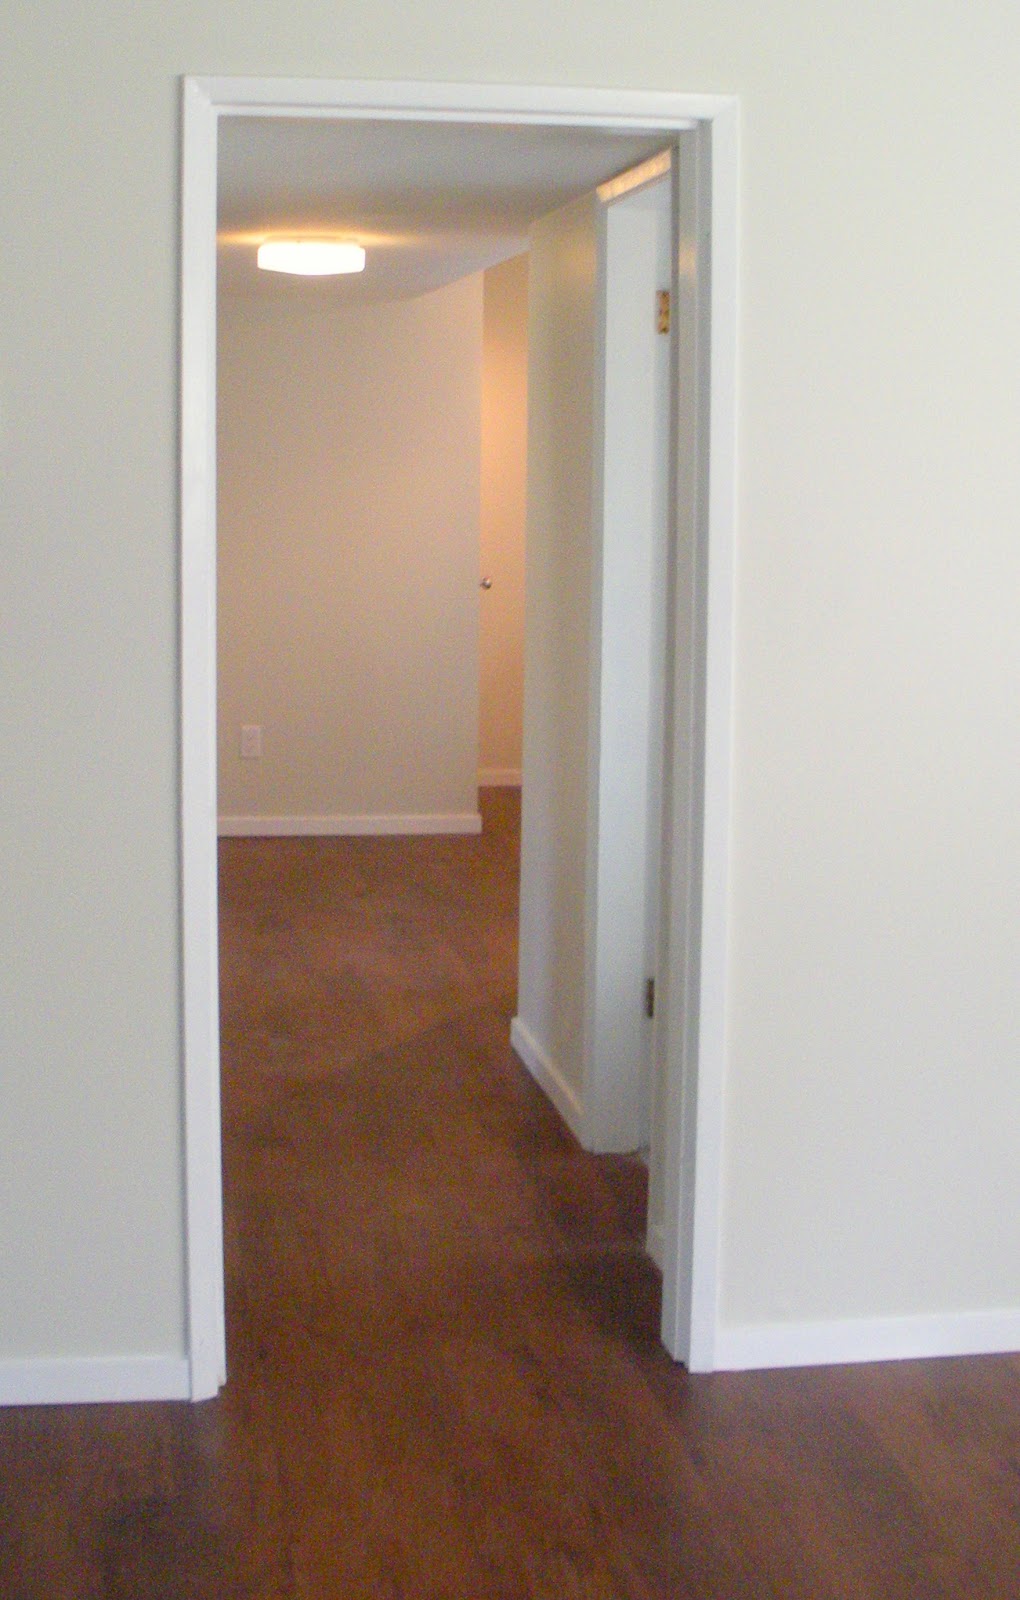
Once we has mastered the technique, the rest of the floor laying was a "breeze", and by the end of the weekend it was all done! With simple clean baseboards added the floors were looking pretty awesome.

It's only been ~5 months since these floors went down, but so far so good. I'll be keeping an eye out to see how this floor really holds up as they were not the cheapest option out there, so fingers crossed they were worth the extra expense.
And, the best news about getting the floor down was that our final hurdle before putting up the for rent sign was tiling, and finishing touches!
No comments:
Post a Comment
We love to hear from other Crafty folks